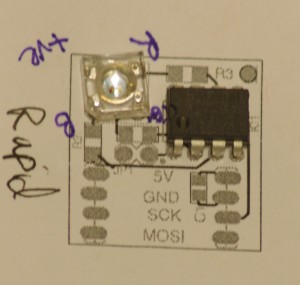
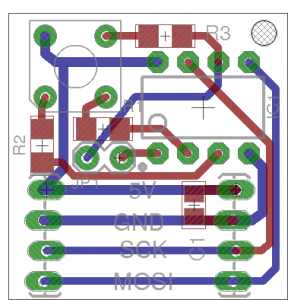
Recently I’ve started a project to add some RGB LEDs around the rim of a Sombrero. Naturally having each LED individually addressable and dimable (using PWM) was a given. Although off the shelf LED strips may have fitted the bill, either as is with a bit of modification I thought this would be a good opportunity to try making some BlinkM clones. I found the Ghetto Pixels – Building an open source BlinkM instructable and decided to use a small PCB to keep thing a bit neater.
After following this very useful guide I was able to get EAGLE 6 running on Debian squeeze and was ready to design the
After many hours spent getting the components and tracks laid out as neat and optimised as I could I showed my design to a few experienced PCB hackers at Edinburgh Hacklab. A useful bit of advise was “Don’t torture the board house”, for example just because they claim to do 6milli tracks doesn’t mean you should use such thin tracks if 10milli tracks are suitable. I also printed the board layout onto normal paper to check that the components fitted and nothing looked obviously wrong.

Printed on normal 80gsm paper at real size (~25x25mm)
I’ve opted for a mixture of surface mount and through hole components. The LED current limiting resistors and decoupling capacitor are surface mounted. I’ve chosen the relatively large 1206 package for resistors, with the rational that it should be easier to solder. Using a thru-hole DIP version of the ATTiny consumes extra board space but given my limited surface mount experience it’s probably wise to learn to walk before running.

My Board
The boards are being manufactured using SeeedStudio’s Fusion PCB service. As the smallest board they do is 50x50mm and my board was 25x25mm I’ve panelised 4 of them onto each by following the Panelizing PCBs Seeed Using Eagle instuctable. I placed my order and submitted my design file on 30th October, received an email on 1st November saying the order was “In production” and was “shipped” on the 6th November. From the experience of others I would expect the board to arrive 2 to 4 weeks after ordering.
Fingers crossed I haven’t made any design errors….

